
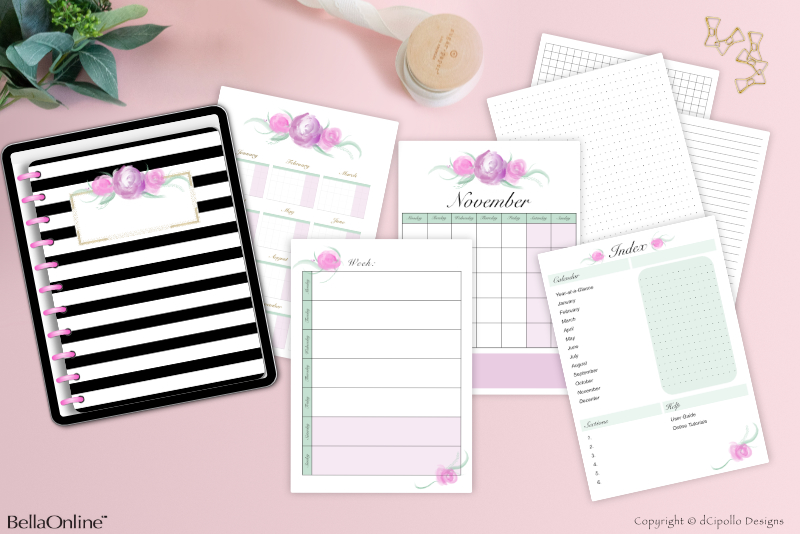
Full Digi Planner PDF Template - Anchors
At this point in the Design a Digital Planner in Affinity Suite tutorial series, we are ready to work on the document pages for our digital planner. We will add some new pages to the Pages panel and create the hyperlinks for these pages. In this tutorial, you will learn the following.
Design a Digital Planner in Affinity Suite - Tutorial Series Index
More Affinity Suite Tutorials
Screenshots used by permission of Serif (Europe) Ltd. This article is not endorsed by Serif Ltd.
- Add document pages in the Pages panel
- Add a Hyperlink Anchor to a page
- Assign a Hyperlink to the Anchor
Let's Get Started
Because we built this template using the Digi Planner Cover PDF Template as a starting point, we already have the Front Cover master page applied to Page 1 in the Pages panel. Let's add 21 new pages and apply the Inside Page master to each (see list).- Open your Full Digi Planner PDF .afpub working file. Go to the Pages section.
- Right-click on the Front Cover thumbnail in the Pages panel and choose Add Pages (see screenshot).
- In the Add Pages dialog, set the following values (see screenshot).
- Right-click on the page 22 thumbnail in the Pages panel and choose Apply Master. Set the following values in the Apply Master window (see screenshot).
- Double-click the thumbnail for Page 1, to load the page 1 contents in to the Canvas and Layers panel. Rename the top layer in the Layers panel from (Front Cover) to Front Cover (Front Cover) (see screenshot).
- Double-click the thumbnail for Page 2, to load the page 2 contents in to the Canvas and Layers panel. Rename the top layer in the Layers panel from (Inside Page) to Index (Inside Page) (see screenshot).
- Rename the top layer for pages 2 to 21. See the list for the names (see list).
- Double-click the thumbnail for page 2, to set up page 2 in the Layers panel.
- Use the Zoom tool to zoom in on the top left corner of the Canvas.
- With the Index layer selected in the Layers panel and the Tab Label style selected in the Text Styles panel, select the Artistic tool. Click on the Canvas in the upper left corner of the page and type the word Anchor (see screenshot).
- With the Move tool, double-click the word, to place the cursor within the text.
- From the top Menubar, click Text - Interactive - Show Anchors. Next, click Text - Interactive - Insert Anchor (see screenshot).
- In the Insert Anchor window, give the anchor the same name that you used to rename the top layer in the previous step above (see screenshot).
Number of pages: 21
Insert: After
Page: 1
Master Page: Inside Page
At this point, the last page has the Inside Page master page applied. But we want the last page to be the back cover. Let's switch to the Back Cover master page.
Apply Master: Back Cover
To: Specified Pages - 22
Replace Existing: Checked
Content: Clear
Notice that the name of the top layer in the Layers panel has changed from (Inside Page) to (Back Cover), indicating that the Back Cover master page is now applied to page 22. Now, all of the pages, except for page 1 and page 22, have the Inside Page master applied, which doesn't tell us much about the page. Let's go through all of the pages and change the top layer's name to something that will indicate the purpose of the page (see list).
Now let's add the anchors, starting with the Index page (page 2).
You should see an anchor icon within the text and a new Anchor layer at the top of the Layers panel.
Design a Digital Planner in Affinity Suite - Tutorial Series Index
More Affinity Suite Tutorials
Screenshots used by permission of Serif (Europe) Ltd. This article is not endorsed by Serif Ltd.
Powered by Creative Market

Related Articles
Editor's Picks Articles
Top Ten Articles
Previous Features
Site Map
Content copyright © 2023 by Diane Cipollo. All rights reserved.
This content was written by Diane Cipollo. If you wish to use this content in any manner, you need written permission. Contact Diane Cipollo for details.


